Showing posts with label Craft Projects. Show all posts

Friday, July 20, 2012

Camp Nanna 2012


The kiddos had a blast at Breyden's 6th Birthday Party!
They especially enjoyed drawing on plates to keep and use at Camp Nanna.


A turtle in the Sea
 

Ellee drew a picture of her and Breyden

This view NEVER gets old!
Posted by Picasa

Wednesday, November 09, 2011

{Advent Calendar}

I was inspired by a few things on Pinterest recently and decided to combine two of the things I saw.
1. An Advent Calendar {We didn't have one. Unless you count the paper chains I have my kiddos do}
2. I saw an idea on pinterest to have your Advent days be experiences and not things.
I thought this board would be perfect to clip the experiences to for each day. Doing it this way would make me better organize our calendar and purposely plan some of the things we already do around the Holidays anyways.
Some of my ideas are:
 going to see Christmas Lights {Fantasy Lights} go to a Christmas Program {or 2 or 3} read a Christmas Story, bake cookies, make teacher gifts, etc. etc.   

I started off with a 46 in. pine board, because that's what I had on hand. If a shorter board were used, smaller numbers would need to be used as well.

First, I primed since I was working with a bare pine board.
Next, I painted it a blue color by Glidden. I have a few blue paint testers that I've been testing on a few walls and I really wanted to use what I already had. I also knew I wanted it to be blue and red, so it worked out perfect!
Now onto the really tedious part. I painted 2" cothespins white. ALL 24 OF THEM.
{note: anyone who may want to make this, look for and buy white clothespins, not sure if that's an option though}.
I painted the top and 2 sides of each clothespin. I also painted basically any part that would show once glued to the board.
I glued the side not painted to the board.
 
Since I knew I wanted to make this blue and red, I found some cute red polk a dot paper, measured and cut out 24 of them. Cutting 24 out was actually really easy, since I figured out that only 2 lines of polk a dots would fit onto a clothespin. I modge podged each of the papers to the top of each clothespin.
Next, I layed all 24 clothespins out and tried to figure out how far apart to space them. I measured "about" 2in. apart. Before I glued them down I drew a line using the level to ensure my clothespins stayed straight and level down the entire board.
I used E-6000 to glue the clothespins

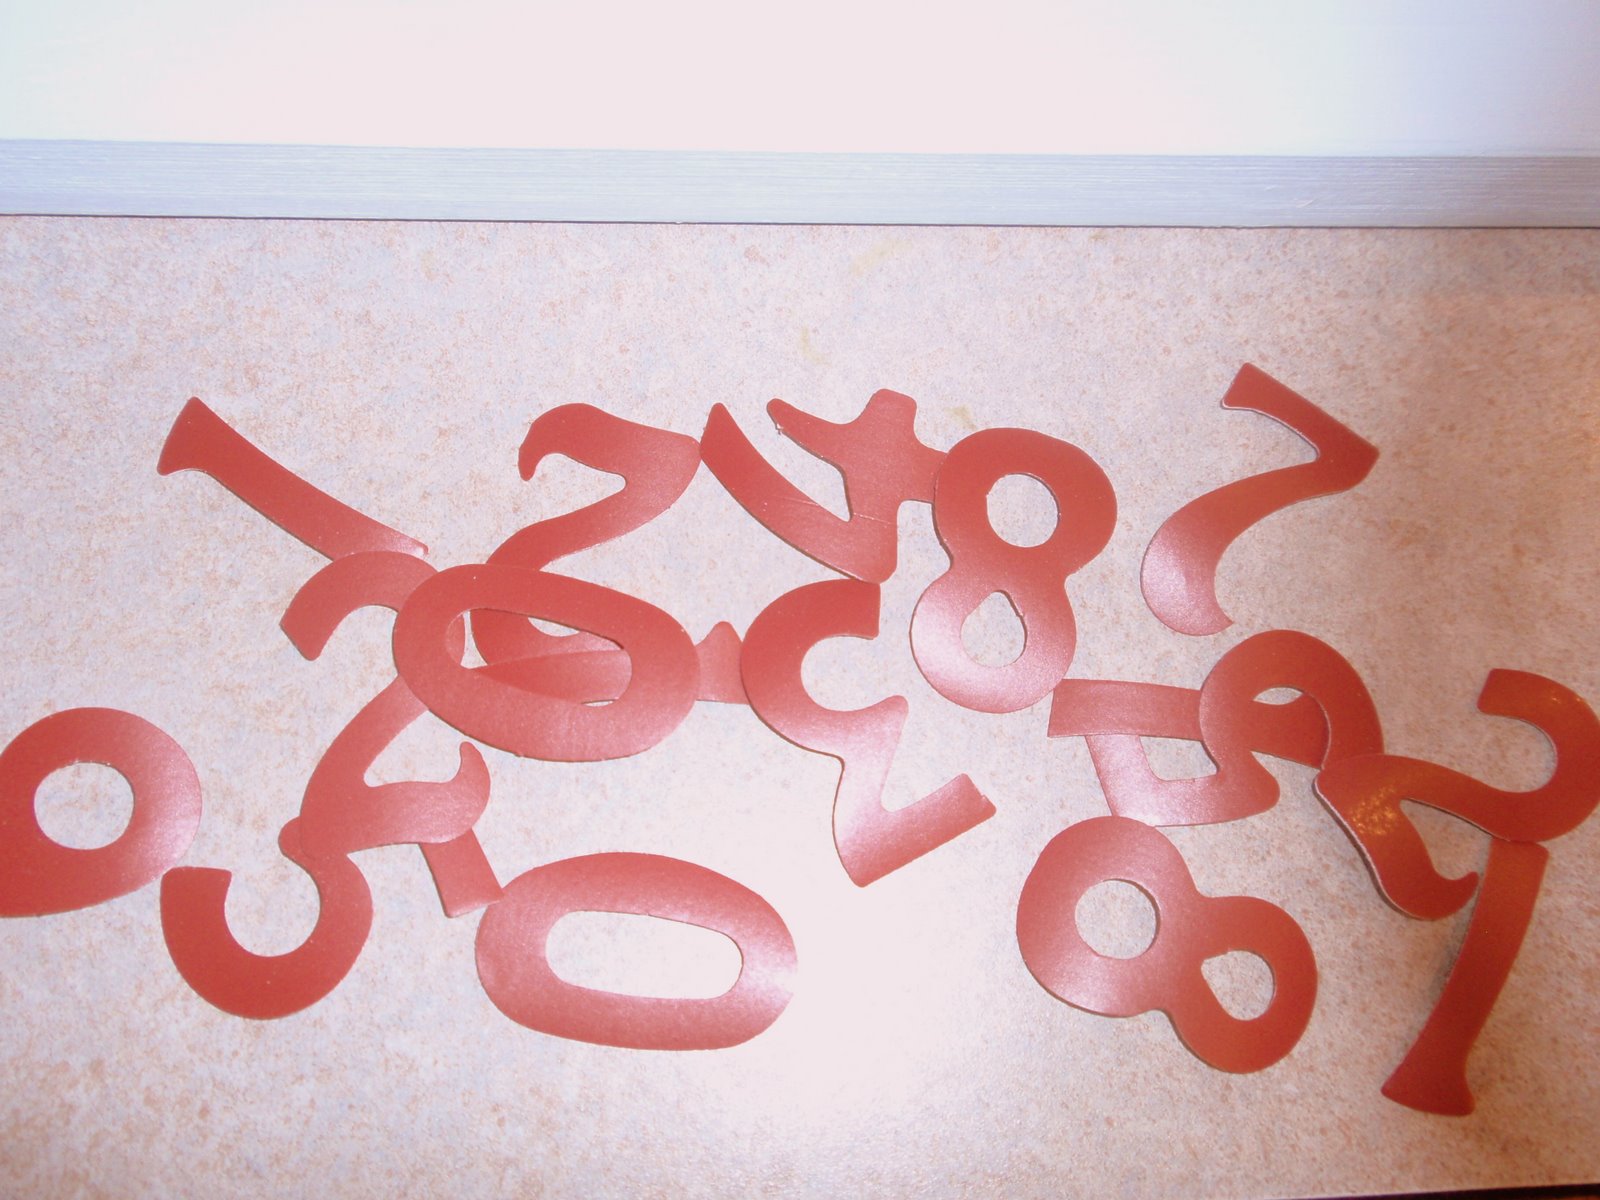
Now the fun part, that didn't start off so fun for me. I originally bought red paint thinking I was going to paint all 24 numbers {what was I thinking}. Plan B, I thought I could buy a stencil and trace/paint the numbers{didn't find any stencils that I loved}. Plan C, use number rub-ons {couldn't find any big enough}. Plan D, wander around Ben Franklin aimlessy looking for something, anything really at this point. I asked a woman working if she had red vinyl or rub-on numbers, they didn't....urg! But, she did say you could di-cut your own if you buy a roll of vinyl. The only bummer was that they do sell some vinyl colors by the sheet, but not red. So I decided on this route, not realizing just how cool it was going to be. Di-cutting vinyl just opened up a whole new world for me {decorating and teaching wise...I'm a Kindergarten Teacher}. 

I decided on di-cutting 1 1/2 in. numbers and cut a few extra of each just in case I made a mistake.   


I layed out all the numbers on the board and had to figure out how to get them on straight and have good spacing. I figured my line worked well the first time for the clothespins, so I drew another one for the numbers. Next I peeled the backing off and rubbed them each on...easy peasy!
I love it and can't wait to work with vinyl and the di-cuts again.
I absolutely love the way my advent calendar turned out. Now I need to work on the experiences to clip on to each day. 

 I have a few places in mind of where to hang it for the month of December, but I think I need to pull out my other decorations before this gets hung.
Ellee thinks it's for her to learn her numbers. She has come up to it a few times and started pointing and counting each number. I'm excited for her and Jackson to take the paper off each day, we may have to alternate, so they each get turns....didn't think of that until now...oops:)
 
I think I want a cricuit or silhouette from Santa this year!!!
Posted by Picasa

Tuesday, November 08, 2011

{Thankful Tree}

We are very blessed and extremely Thankful!
We are starting a new tradition at our house...a Thankful Tree. We have circle notes to write what we are thankful for on and then hang it on the tree sitting on our kitchen table. It is a constant reminder that we see and talk about everyday. It will stay until we decorate for Christmas. Everyday after Ellee says grace for dinner we talk about what we are thankful for.

It's really cute to hear Ellee and Jackson talking and filling out the papers on their own.
Ellee has a few circles on the tree with her scibbles on them. I asked her what one of them said and she told me, "God's Love." Kids have a good way of reminding us what we should really be Thankful for!

Jackson has written his own things that he is Thankful for as well....Mommy and Daddy...melts my heart!

 
I read a sign on a church reader board the other day that really stuck in my head and I thought I would share it.
{Live in your Harvest}
Posted by Picasa

Monday, July 11, 2011

Picture Board


I  we made another picture board for my dear friend Lindsey! Shawn actually attaches some of the pieces with screws, the rest I glue on and then paint, sand, distress etc. Shawn also cut down the candle stick I found for the base. I really liked the color of this one!
Posted by Picasa

Tuesday, May 17, 2011

Chalkboard Redo

I found this beauty at goodwill and thought it would make a great chalkboard for Ellee and Jackson's playhouse...aka-Kidquarters! It use to be one of those things that held a calendar.


A few coats of aqua blue spray paint, chalkboard spray paint and heirloom white spray paint for the knobs and I was done!

I glued the little wooden knobs on with E6000. They are for decorative purposes and maybe to hold an eraser of some sort. Oh and I used walnut stain distress ink over my sanded edges.


Here's right before I put the chalkboard piece back in.


The chalkboard hanging in Kidquarters!


Miss Ellee ready to get to work. She was so excited!


She drew a face on it for the picture!


Daddy-O has to make some changes to Kidquarters....no more upstairs:( We need a peaked roof with all this darn rain we get! Hopefully this project will be checked off the list this summer. (It started last August)

Posted by Picasa

Friday, April 22, 2011

Easter Treat...Peeps!


The kids are giving their cousins some sweet tweets for Easter!


I printed this cute paper here


Posted by Picasa

Picture Board for Baby Landon

This is the second picture board thing that I made with much of Shawn's help this time. He drilled the holes to screw in the bottom pieces and the finial. I glued on the L, primed, painted, sanded and even added some distress ink (love this stuff) to the edges. I think it turned out pretty cute. Obviously the pictures can easily be traded out.


First, I purchased a 2x8x8 board from Lowes and had Shawn cut down a couple boards to 11". I also bought the finials at Lowes...this is the ONLY place I have seen them. (They come in a 2 pack with screws on the end.) I found the L at Michaels, but pretty much any craft store has things like that. Anything can be added to the front of the board or nothing at all. I used e6000 glue to adhere the L and the clip for the picture. Some of the blogs I have been reading strongly recommend this stuff, so I gave it a shot...pretty powerful stuff. I waited the full 24 hours for it to dry before I did anything else. For the base, Shawn cut down an old wooden candle stick that was attached to the base already and attached it with a screw.


Posted by Picasa

Wednesday, April 20, 2011

my latest projects

These are a few of the things I have been working on lately....


Spray painting paper mache eggs and adding rub-on stickers. A big Thank You to my model in this picture!


I'm not sure what to call these....I got the idea from other blogs I have been reading. Picture/recipe holder??? I made this one for my teaching partner's Birthday. All the pieces on it are wood, so I had to prime, paint and sand the edges. The picture on it is of our new nephew, Landon. I just got his announcement in the mail today and had to try it out on the board. Isn't he cute? His Mommy, Katie, took the picture and her cousin Jami made the hat!


Sorry for the bad lighting and shadows.


I have a few other things I'm working on....just not quite finished yet!

Posted by Picasa